11.2.1 Creating a User #

An Administrator Account is required to create Users.
1. Login to Ahasa.
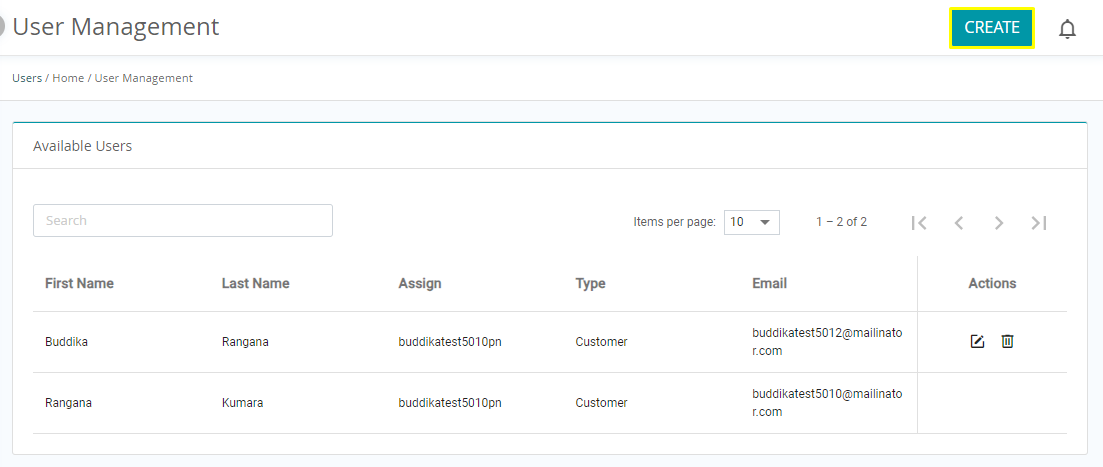
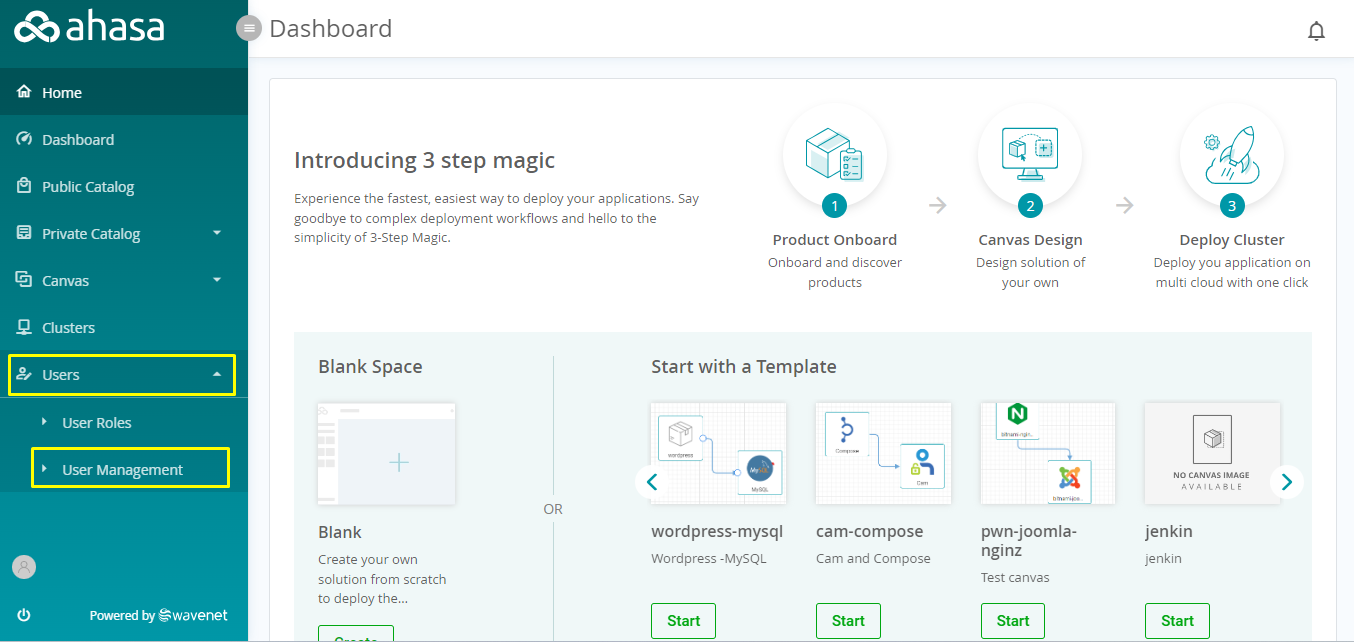
2. On the Left Pane, expand Users and click User Management.

3. Click Create.
4. Enter the following information.
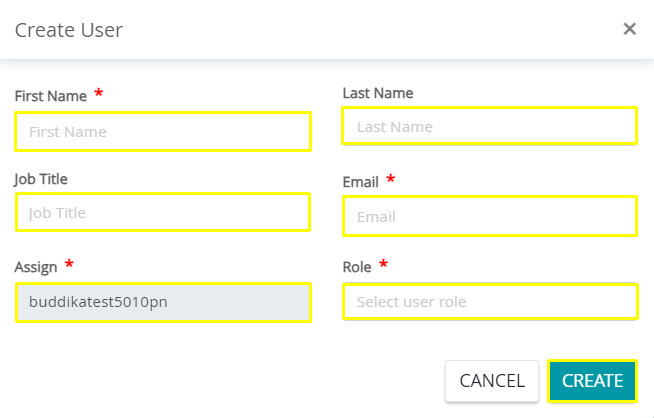
- First Name – The first name of the user.
- Last Name – The last name of the user.
- Job Title – The job title of the user.
- Email – The Email of the user.
- Role – Select the role from the existing roles. Go to Role Management to manage roles.
5. Click Create to create a new user.
11.2.2 Editing a User #

An Administrator Account is required to edit Users.
1. Login to Ahasa.
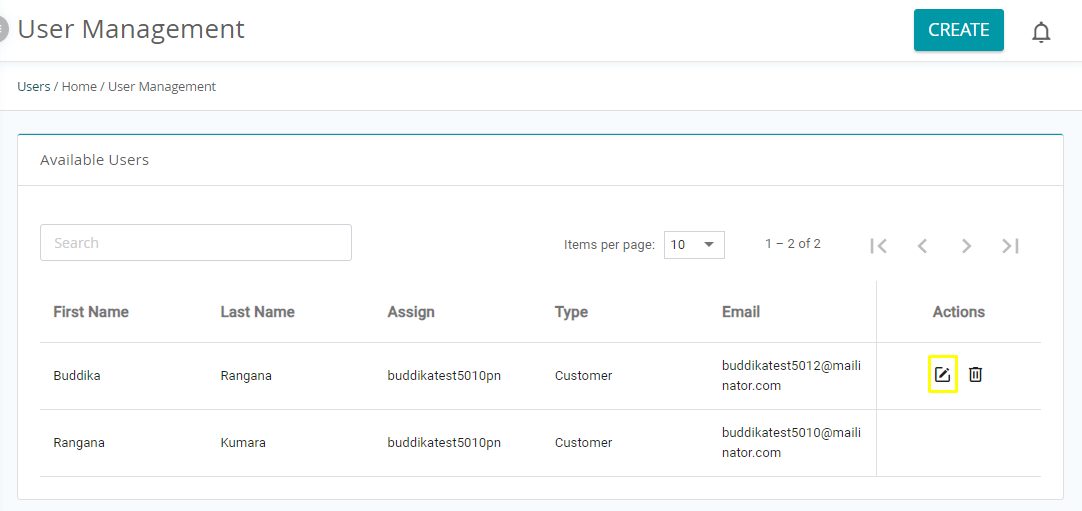
2. On the Left Pane, expand Users and click User Management.

3. On the Available Users section identify the required user and click the ![]() Edit button in the Actions tab.
Edit button in the Actions tab.

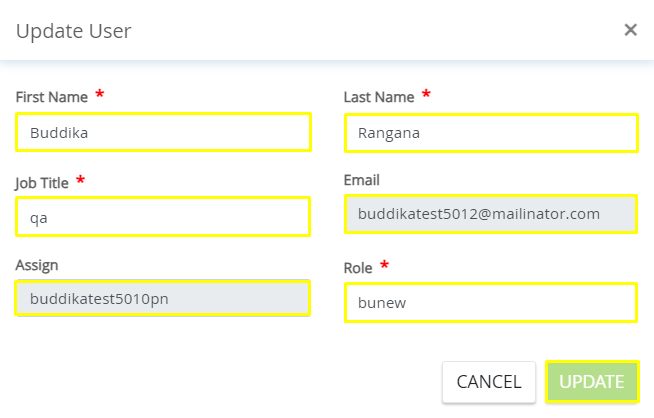
4. Update the required fields. The field descriptions are given below. Email and Assign cannot be changed.

- First Name – The first name of the user.
- Last Name – The last name of the user.
- Job Title – The job title of the user.
- User the search box in User Role to search and assign user roles.
11.2.3 Changing User Role #

An Administrator Account is required to change user roles.
1. Login to Ahasa.
2. On the Left Pane, expand Users and click User Management.
3. On the Available Users section identify the required user and click the ![]() Edit button in the Actions tab.
Edit button in the Actions tab.
4. Assign the required role and click Update.
11.2.4 Deleting a User #

An Administrator Account is required to edit Users.
1. Login to Ahasa.
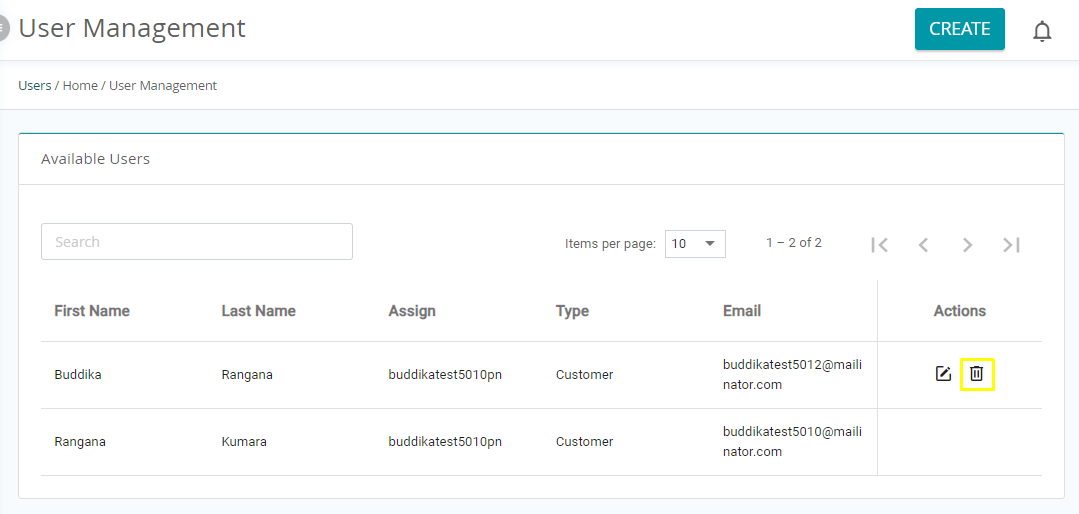
2. On the Left Pane, expand Users and click User Management.

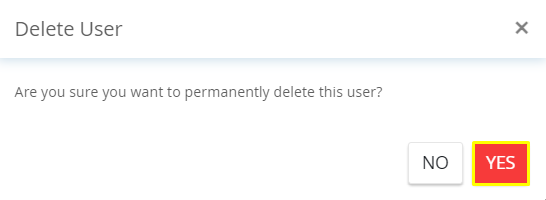
3. To delete a single user, on the Available Users section identify the required user and click the ![]() Delete button in the Actions tab.
Delete button in the Actions tab.
4. Click Yes to confirm.