Prerequisites
· Bitbucket Account
· Container Repository Account (Nexus)
· Kubernetes Cluster
Steps
Commit the code into Bitbucket Repository
Commands
#git add
#git commit -m “Small Description”
#git push
Configure the Bitbucket Pipeline
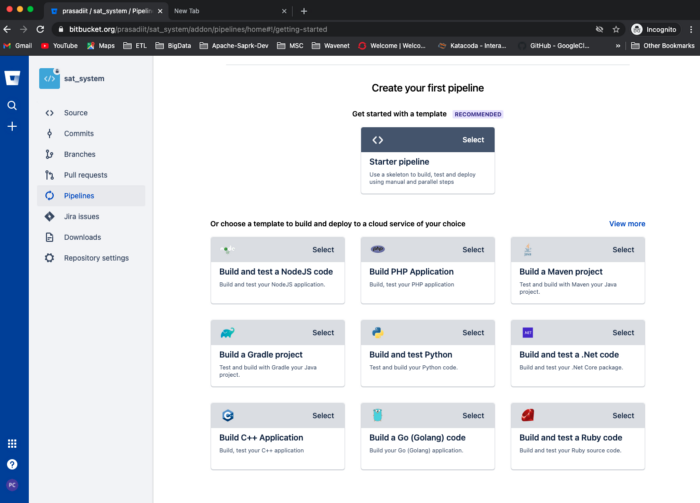
Select the Pipelines tab.
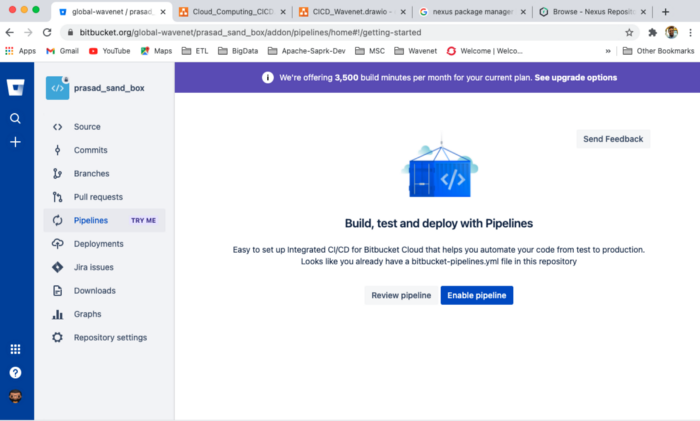

Then it will allow us to select some predefined build templates. But don’t worry, your technology not there, still we can write build script to build the image.
Here we can write the custom build scripts.

I’m using Dockerfile to build the docker image from the committed code, then the build image push to Nexus repository. Then by using yaml file, I’m deploying the build image on the Kubernetes cluster.
Dockerfile
FROM openjdk:8-jdk-alpine
ARG JAR_FILE=/target/*.jar
COPY ${JAR_FILE} app.jar
ENTRYPOINT [“java”,”-jar”,”/app.jar”]
deployment.yml file
apiVersion: v1
kind: Service
metadata:
  name: coursework-app
spec:
  selector:
    app: coursework-app
  ports:
  - port: 8080
    targetPort: 8080
  type: LoadBalancer
---
apiVersion: apps/v1
kind: Deployment
metadata:
  name: coursework-app
spec:
  selector:
    matchLabels:
      app: coursework-app
  template:
    metadata:
      labels:
        app: coursework-app
    spec:
      imagePullSecrets:
        - name: <tag name>
      containers:
      - name: coursework-app
        image: <image url Eg: username:image_name:tag>
        ports:
        - containerPort: 8080
bitbucket-pipeline.yml
image: maven:3.6.3
pipelines:
  default:
    - step:
        name: Build and Push Wavenet Repository
        script:
          - mvn clean install
          - docker login test.domain.com --username $NEXUS_USERNAME --password $NEXUX_PASSWORD
          - docker build -t <username:image_name:tag> .
          - docker push <username:image_name:tag>
        services:
          - docker
    - step:
        name: Deploy to Kubernetes
        deployment: production
        script:
          - pipe: atlassian/google-gke-kubectl-run:1.3.1
            variables:
              KEY_FILE: $KUBE_CONFIG
              PROJECT: "wn-crs"
              COMPUTE_ZONE: "us-central1-c"
              CLUSTER_NAME: "cluster-1"
              KUBECTL_COMMAND: "apply"
              RESOURCE_PATH: "deployment.yml
This bitbucket-deployment.yml file mainly consist of 2 main sections:
1) Build
2) Deploy
Build
Under this section, the code will get build and create the Docker image. Then image push to Nexus repository
- mvn clean install- docker login test.domain.com — username $NEXUS_USERNAME — password $NEXUX_PASSWORD- docker build -t <username:image_name:tag> .- docker push <username:image_name:tag>Deploy
Under this section by using the pushed image, the script will deploy on the Kubernetes cluster.
- step:
name: Deploy to Kubernetes
deployment: productionscript:
- pipe: atlassian/google-gke-kubectl-run:1.3.1variables:
KEY_FILE: $KUBE_CONFIG
PROJECT: “wn-crs”
COMPUTE_ZONE: “us-central1-c”
CLUSTER_NAME: “cluster-1”
KUBECTL_COMMAND: “apply”
RESOURCE_PATH: “deployment.yml
Also in this build script, we can use some variables to maintain the security eg : provide login details.
Configure Environment Variables
Select Repository Settings -> Under pipelines section we can have the Repository variables.
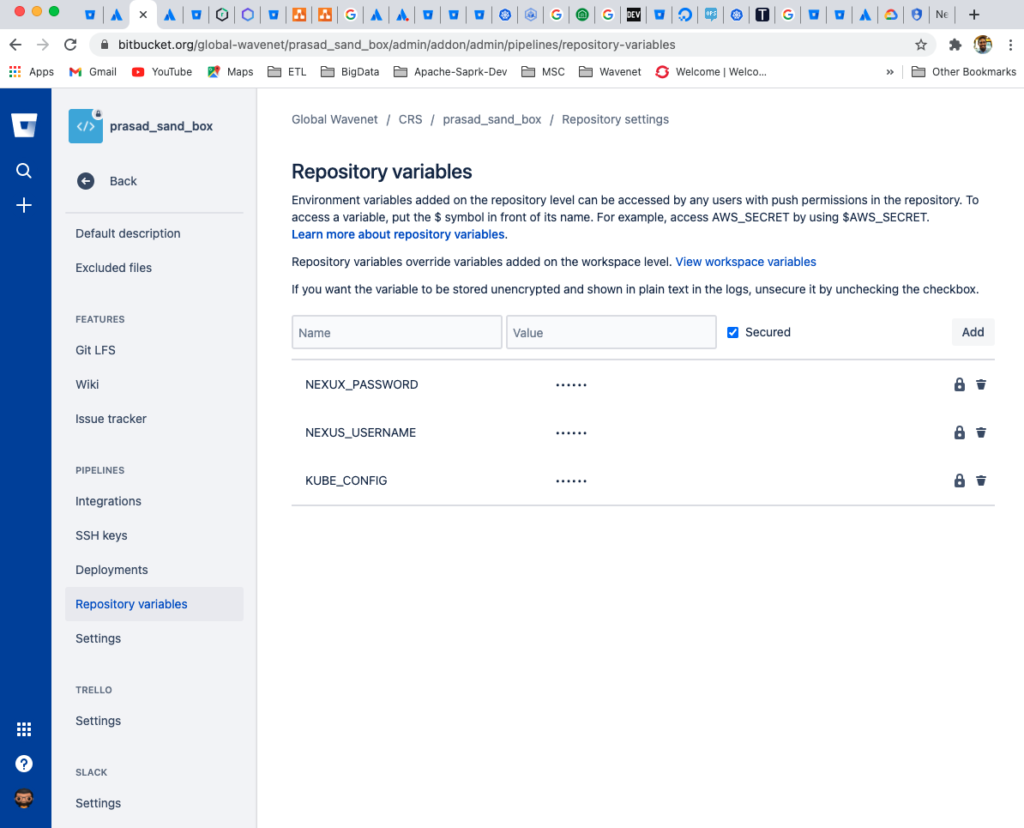

Environment Variable Details
NEXUS_USERNAME and NEXUS_PASSWORS
These two variables are contained login credentials for nexus repository. This is fully straight forward and we can user separate account user name and password.
KUBE_CONFIG
This variable contains login credentials for Kubernetes Cluster.
Generate KUBE_CONGIG value
First, you need to create the service account in Google Cloud
Login to google cloud console -> go to IAM and Admin section -> Select Service account
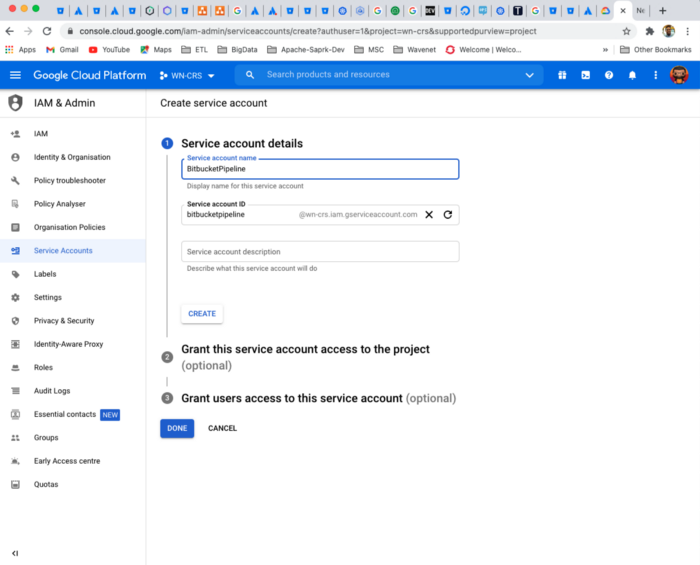
Once you enter required details then it will ask you for Access permission.
There you can select “Kubernetes Engine Admin”
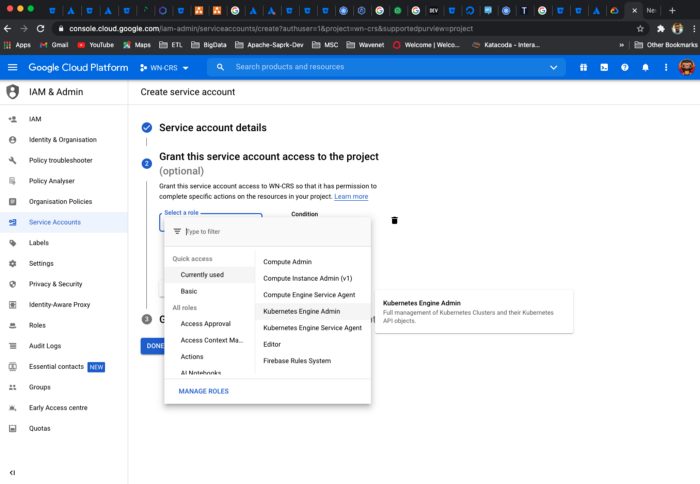
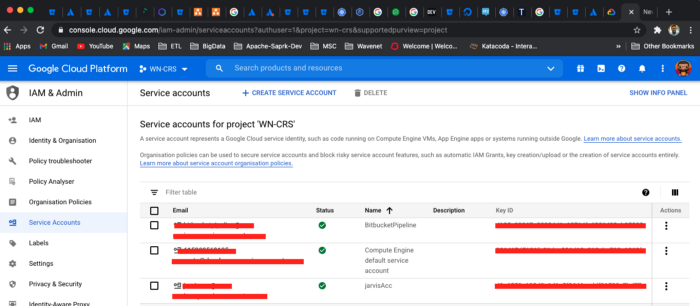
Then click on done. Once it is done, we have to generate the key file.
To do that click on 3 the dots under “Action” section

Then select the JSON and click the create link.
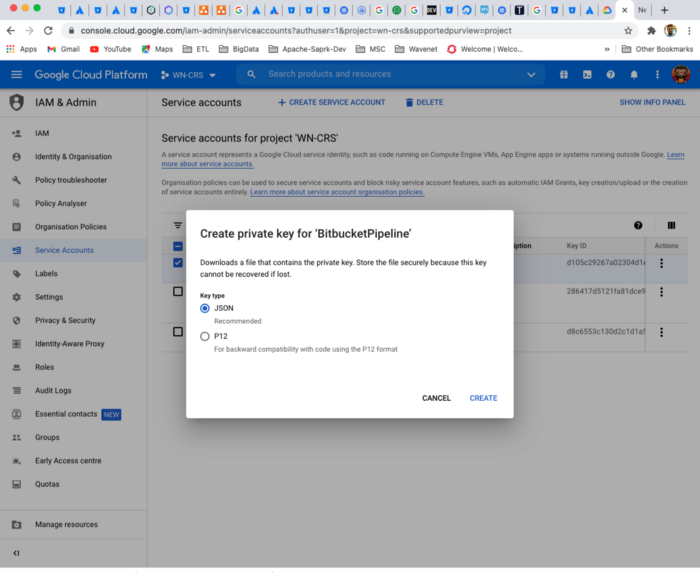
Then it will download a key file. To user this key file as KUBE_CONFIG variable we have convert it in to base64 format
Linux
base64 -w 0 < my_ssh_keyMac
base64 < my_ssh_keyGenerated Key file
Now we can user this key in KUBE_CONFIG variable.
Once every thing is done. Then we can run our build scripts.
Build Script is running
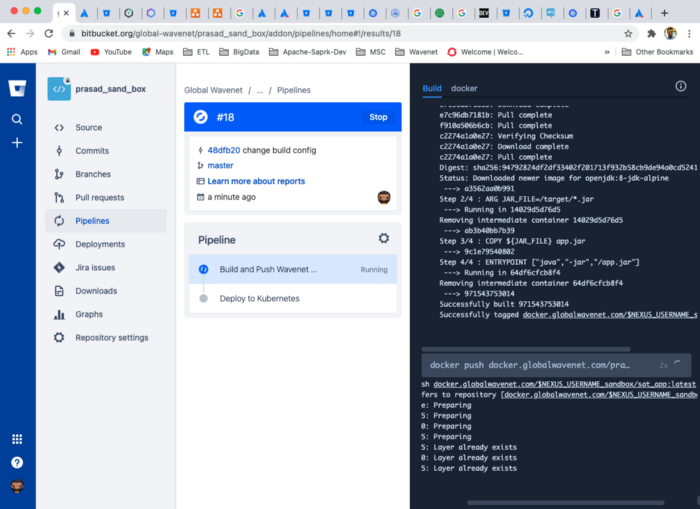
Bitbucket pipeline run without any issue
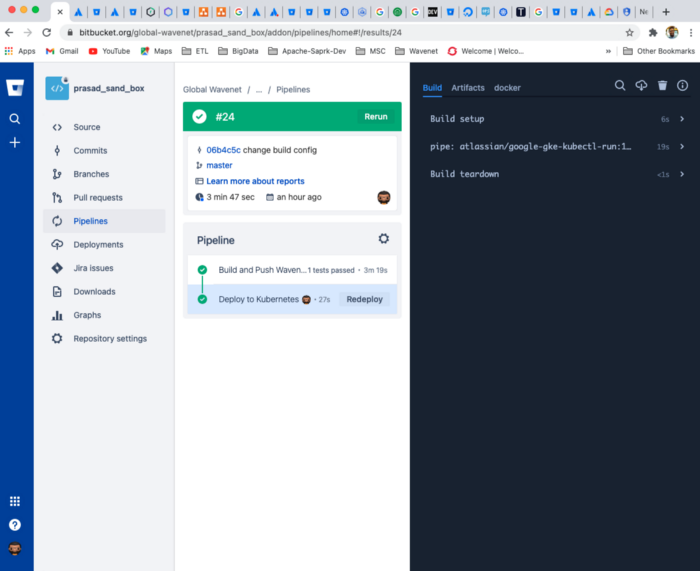
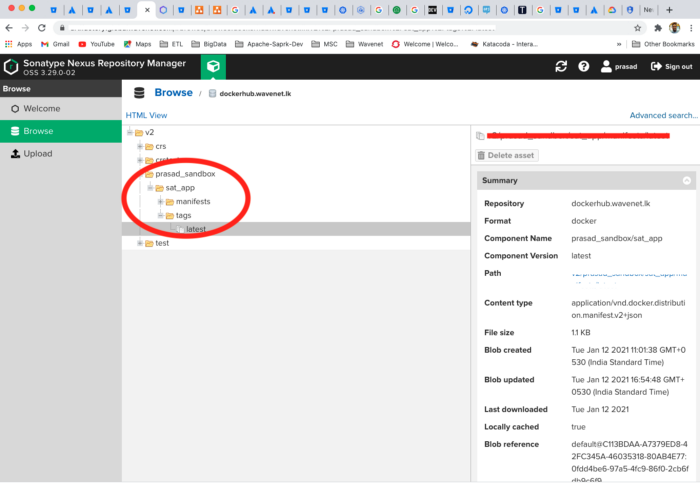
Results
Build image pushed to Repository
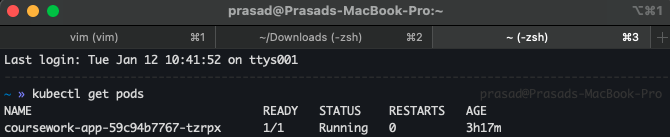
Pod is created on Kubernetes cluster:
End.
Reference