10.1.1 CREATING A CLUSTER TEMPLATE #
1. Login to Ahasa.
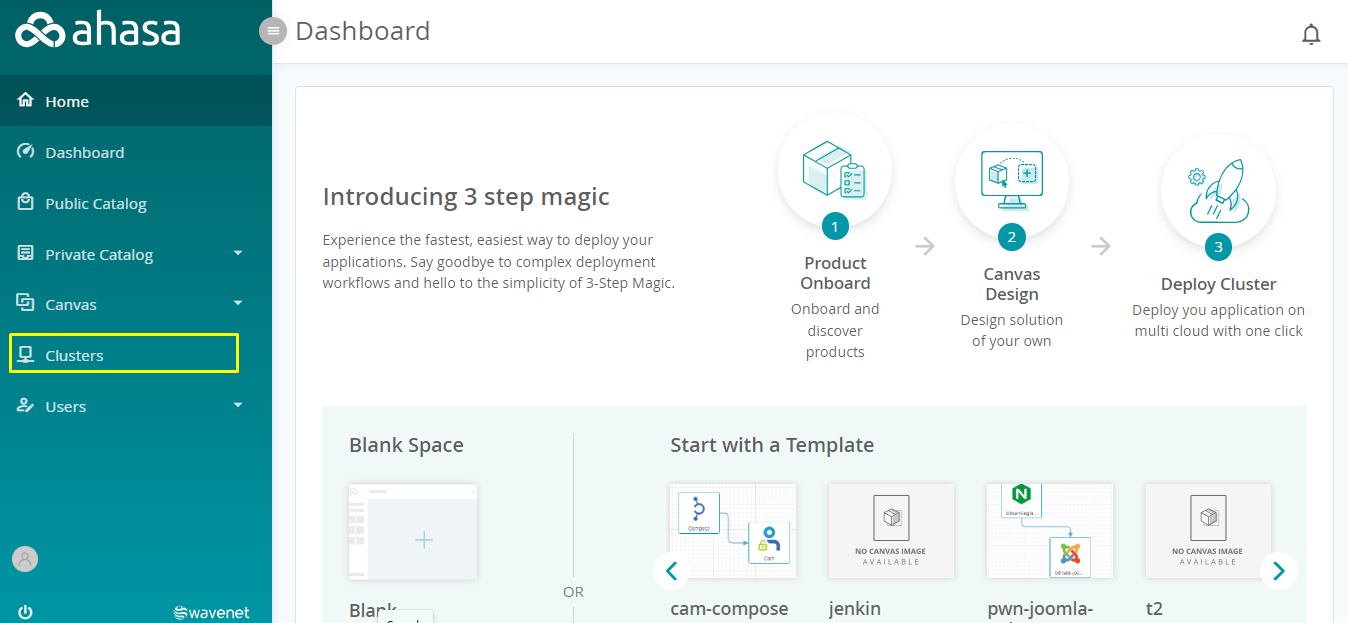
2. On the Left Pane, click Clusters.
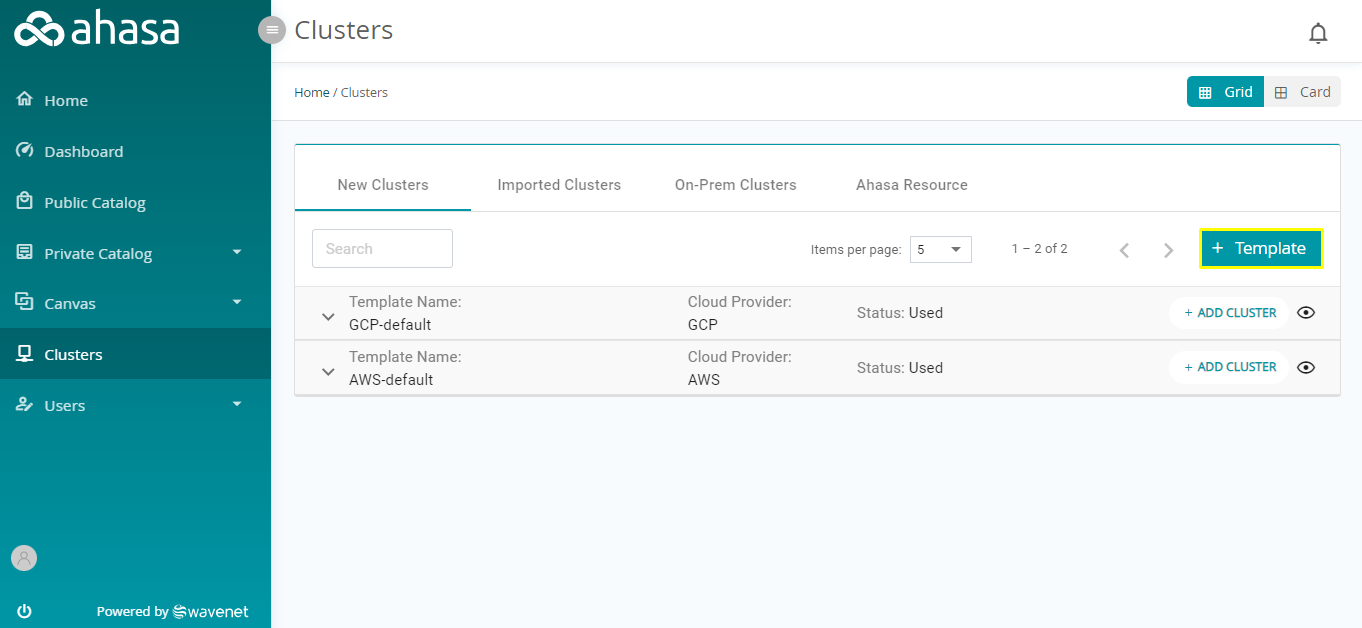
3. Click + Template.
4. Fill the following information.

- Provider – Select the Service Provider from AWS or GCP.
- Operating System (Only available for GCP) – Select the required OS for the cluster.
- Location Type – Select the Location Type (consider whether the cluster is regional or zonal).
- Regions/Zones (Displayed after selecting the Location Type) – Select the Regions or Zones as required.
- Machine Series – Select the machine type here.
- Boot Disk Type – Select the boot disk type which will be used to store the OS, Container Images, etc.
- Boot Disk Size – Enter the Boot Disk Size (in GBs).
- Number of Nodes – Enter the number of nodes that will be used at the beginning.
- Enable Auto Scaling – Enable this if you want to add or remove VM instances from a managed instance group based on increases or decreases in load.
5. Click Assign to Cluster to create the Cluster Configuration Template. Click Save & Exit to save the draft and exist.
Once Created, an email will be sent to the user’s email address. If a Wavenet Internal Product (Ex: Compose, CAM) is used on the cluster, the login credentials will be sent in that same mail.
10.1.2 Creating a GCP Cluster #
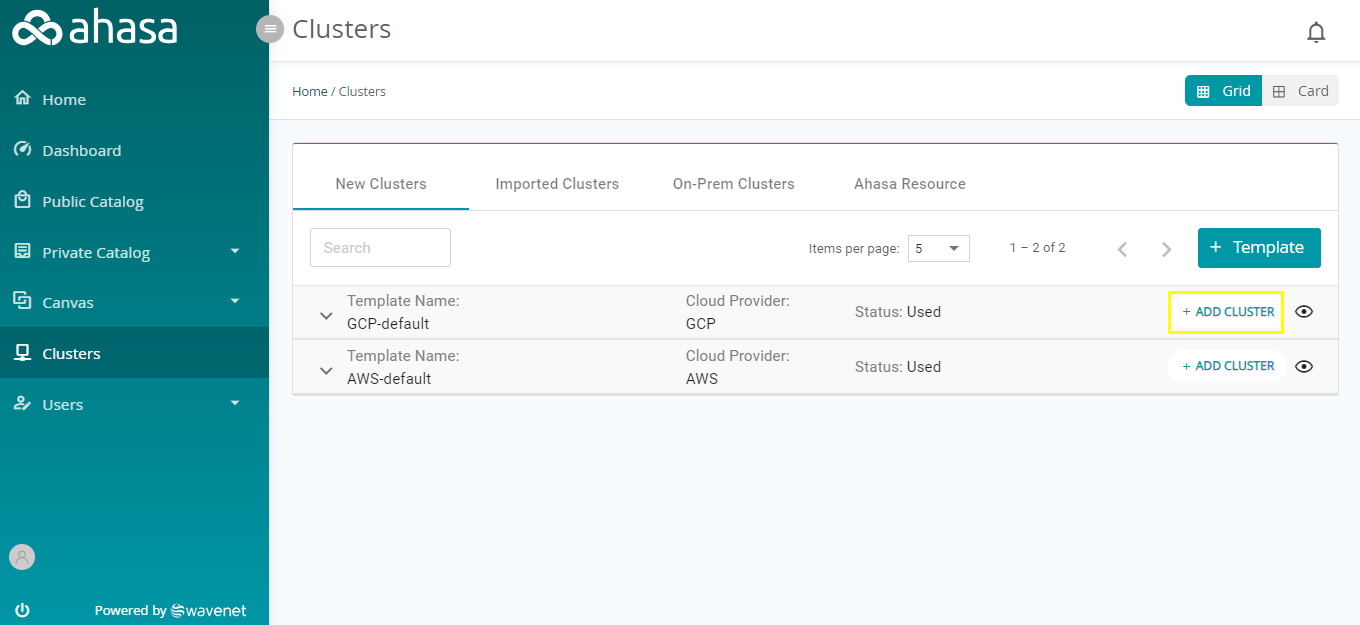
1. Click Add Cluster.
2. Fill in the following information.
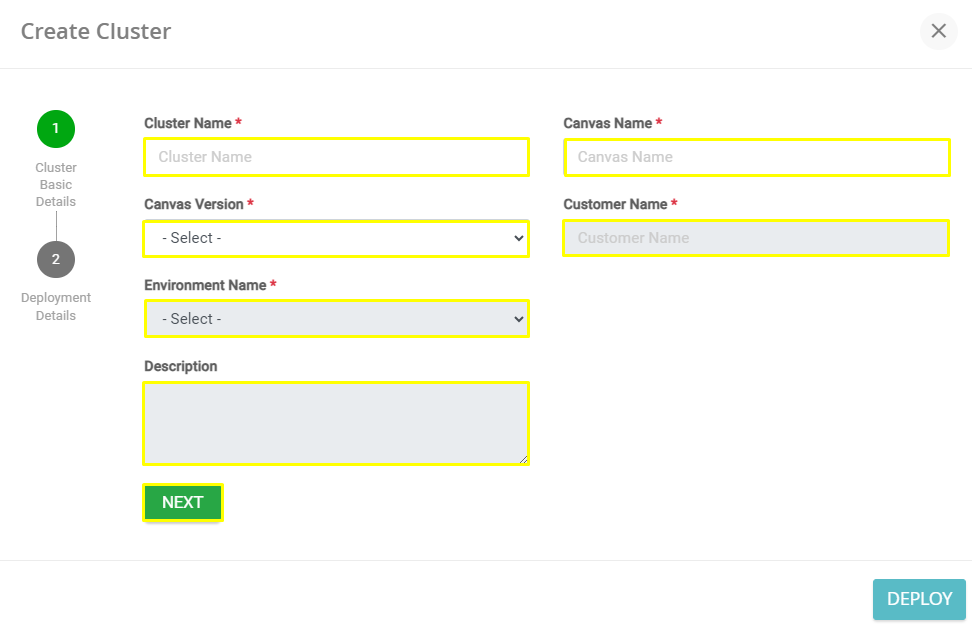
- Cluster Name – The name of the cluster.
- Canvas Name – All your created canvasses will be available on this list. Select the required canvas from the list. Go to this link to know more about managing Canvas.
- Canvas Version – All canvas versions will be displayed for the selected canvas. Select the required canvas version (versions will only be displayed after selecting Canvas Name).
- Cloud Type – Select Public to create a GCP Cluster.
- Environment Name – Select the Environment Name from the list. Staging is used for testing and Production is used for the live production system.
- Description – Enter the description of the Cluster.
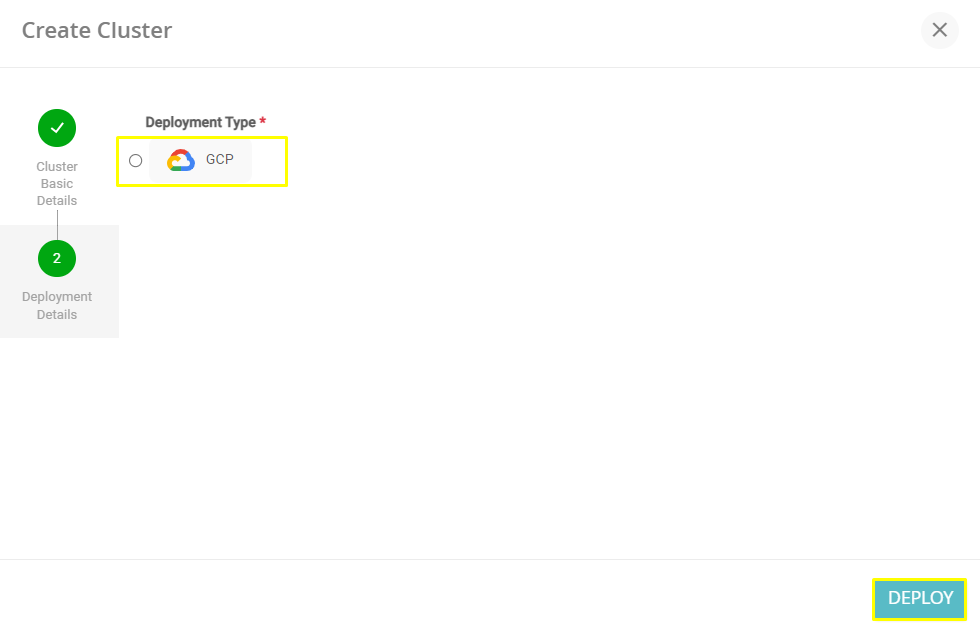
- Select Deployment Type – Select the required Deployment Type as GCP to create a GCP Cluster.
- Cluster Configuration Template – All configuration templates which are created for GCP will be displayed. Select the required cluster configuration template from the list.
- Expand the GCP Connection Configuration.
- Select the Service Account JSON File. Go to this link to know more about the GCP Service Account.
3. Click Deploy to deploy the Cluster.
4. Once the cluster is deployed successfully a small window will appear as below displaying the “Cluster Creation initiated successfully” message.

10.1.3 Creating an AWS Cluster #
1. Click Add Cluster.
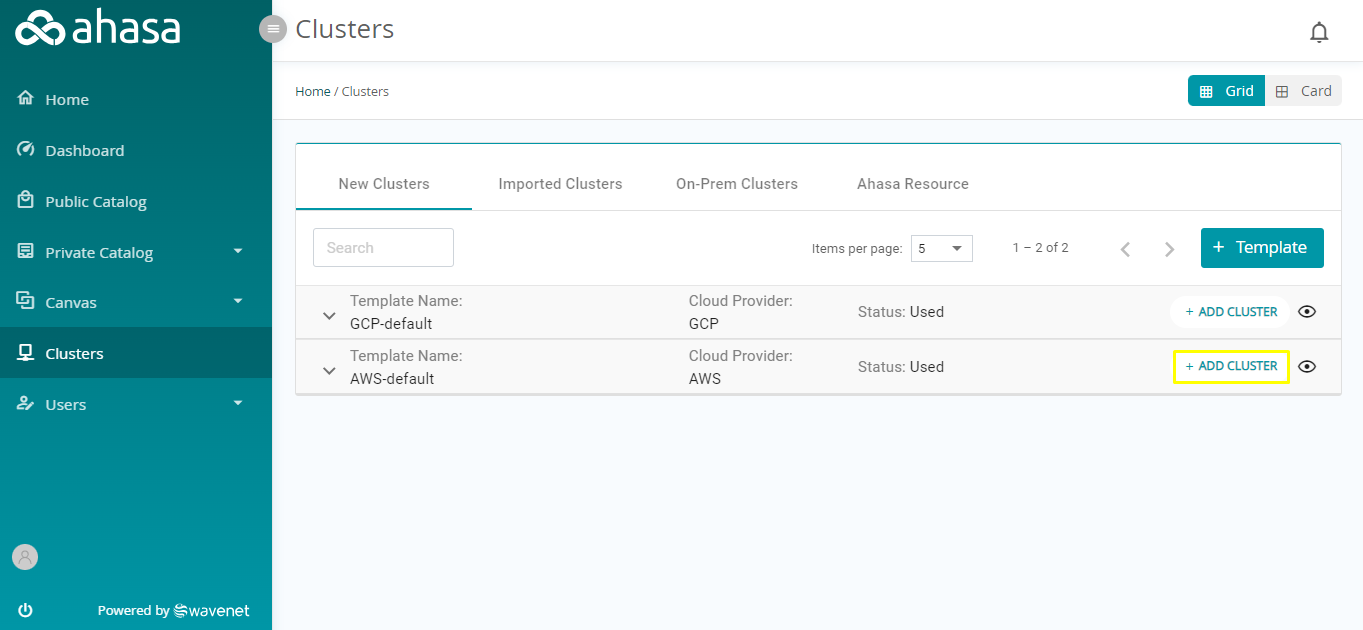
2. Fill in the following information.
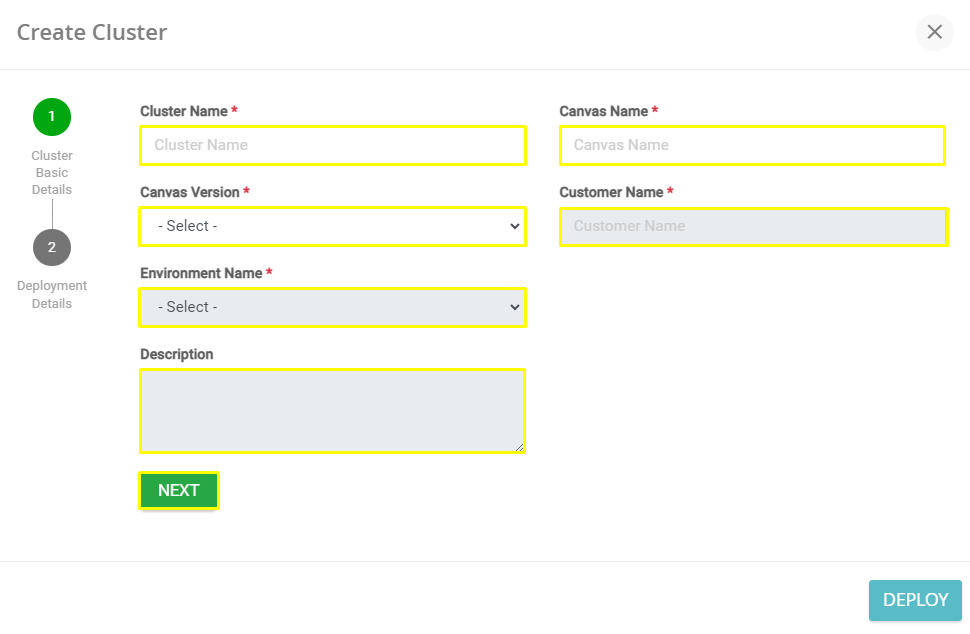
- Cluster Name – The name of the cluster.
- Canvas Name – Select the Canvas Name from the list. Go to this link to know more about managing Canvas.
- Canvas Version – Select the canvas version (versions will only be displayed after selecting Canvas Name).
- Cloud Type – Select Public to create an AWS Cluster.
- Environment Name – Select the Environment Name from the list. Staging is used for testing and Production is used for the live production system.
- Description – Enter the description of the Cluster.
- Select Deployment Type – Select the required Deployment Type as AWS to create an AWS Cluster.
- Cluster Configuration Template – All configuration templates which are created for AWS will be displayed. Select the required cluster configuration template from the list.
- Expand AWS Connection Configuration.
- Enter the Access Key ID and Secret Access Key. Go to this link to know more about the GCP Service Account. Go to this link to know more about the Access Key ID and Secret Access Key.
3. Click Deploy to deploy the Cluster.
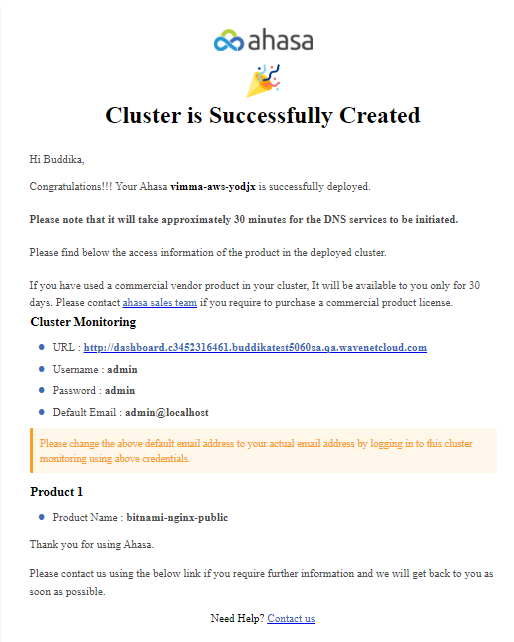
The below screenshot shows the email received after a cluster with all products successfully deployed.
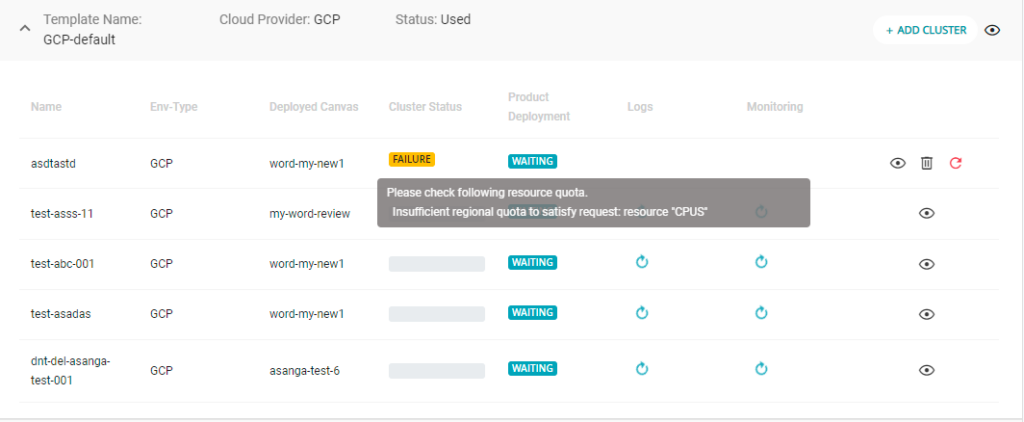
If a cluster has failed to deploy, the reason for the failure will be displayed. You can fix the issue and retry deploying the cluster.
4. Once the cluster is deployed successfully a small window will appear as below displaying the “Cluster Creation initiated successfully” message.


Once a cluster is deployed on GCP or AWS, all data will be deployed on the specific cloud instance. If any changes such as deleting files/folders or moving files/folders are done and the solution crashes as a result of that, those errors will be displayed in ahasa
10.1.4 Updating a Cluster Template #
1. Login to Ahasa.
2. On the Left Pane, click Clusters.
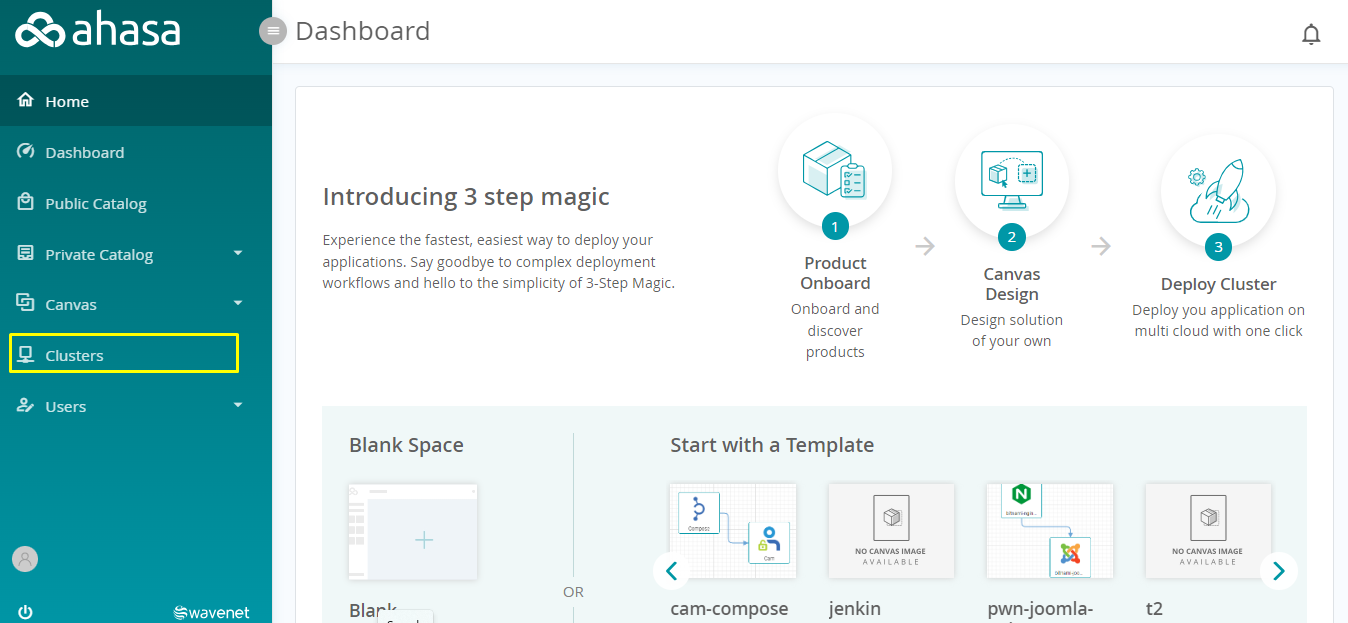
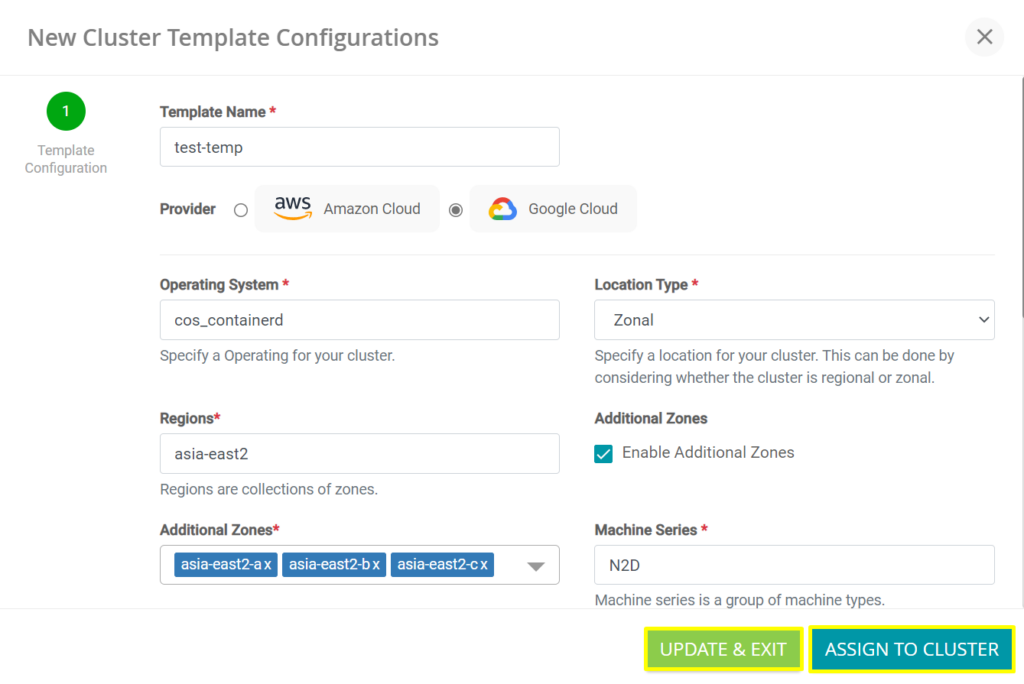
3. Click ![]() edit to update the Cluster Template.
edit to update the Cluster Template.
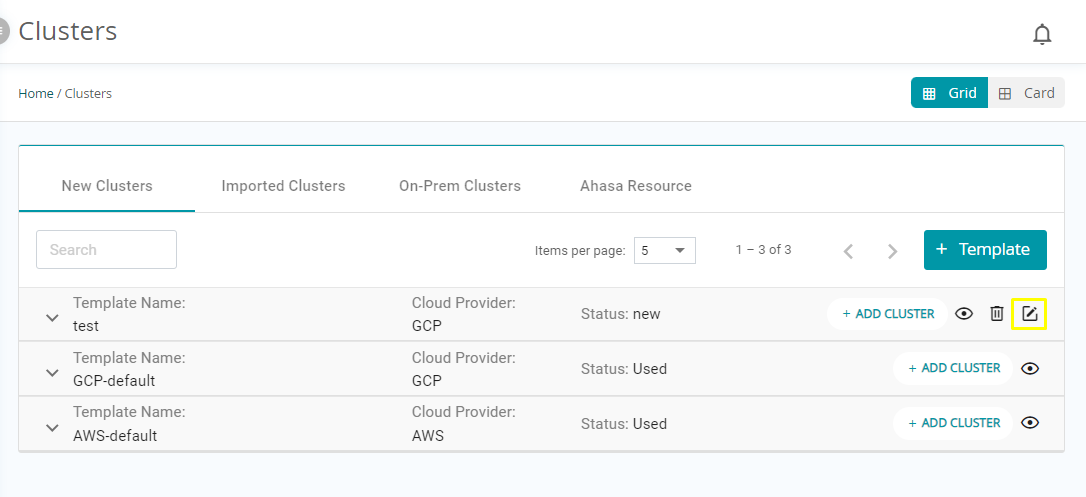
4. Make necessary changes.
5. Click Assign to Cluster to create the Cluster Configuration Template. Click Update & Exit to save the changes and exist.
#
10.1.5 Updating Product and Cluster Versions #
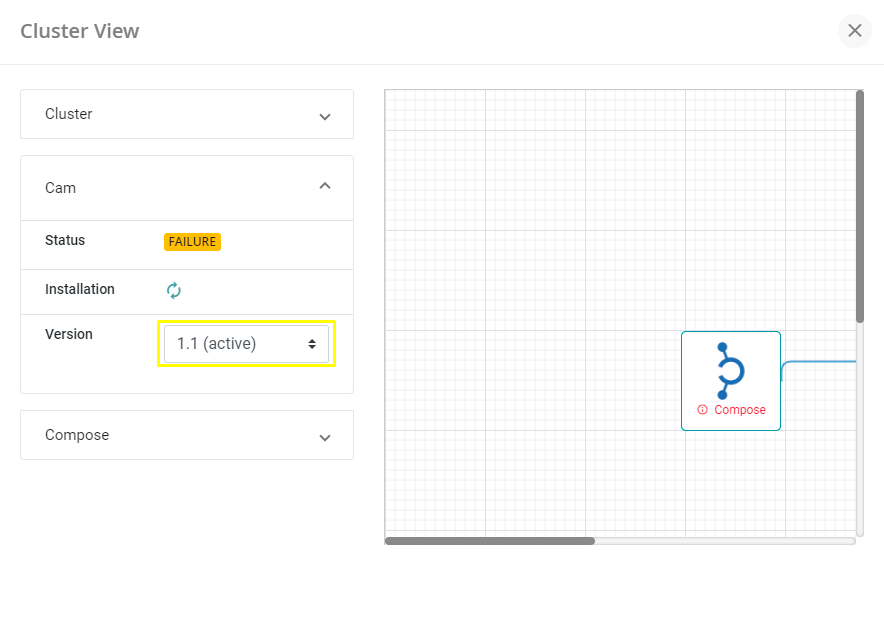
When a new version of a product is pushed, Any existing clusters using that product will display that a new version is available so that the user can upgrade it
Upgrading the product may result in the loss of available functionalities in the previous version of the product. Such actions shall be performed with the consent of the user and prior notification will be displayed before upgrading the product.
1. Login to Ahasa.
2. On the Left Pane, click Clusters.
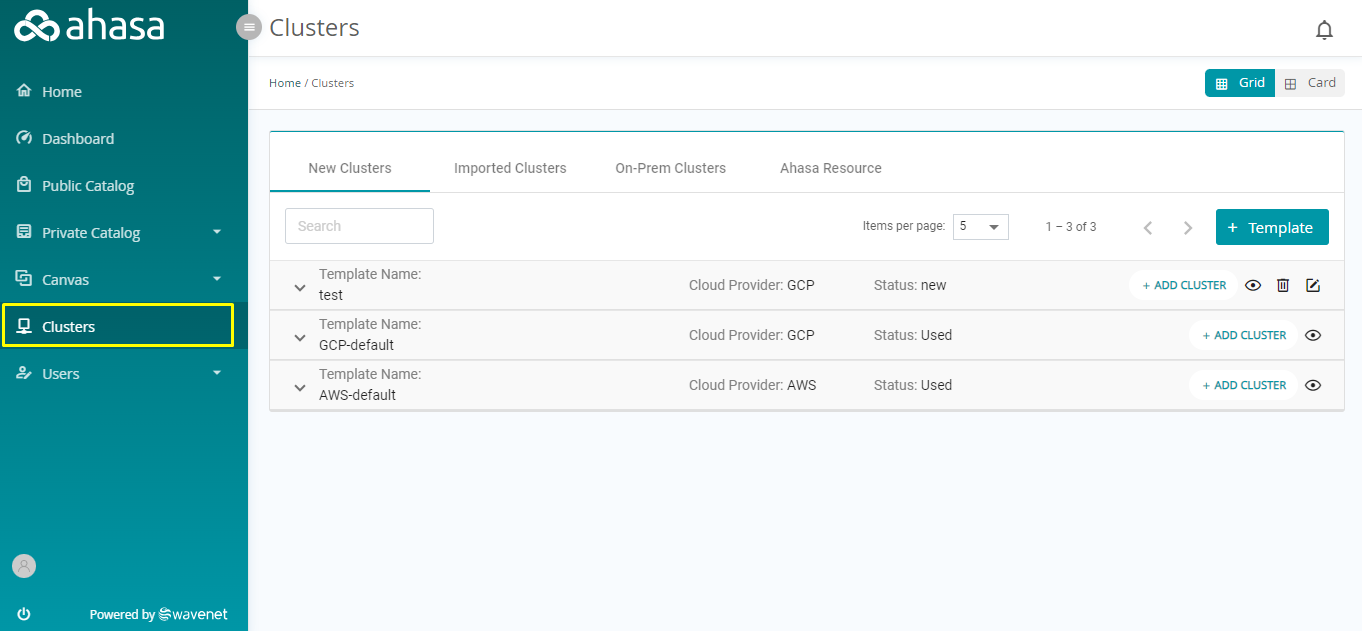
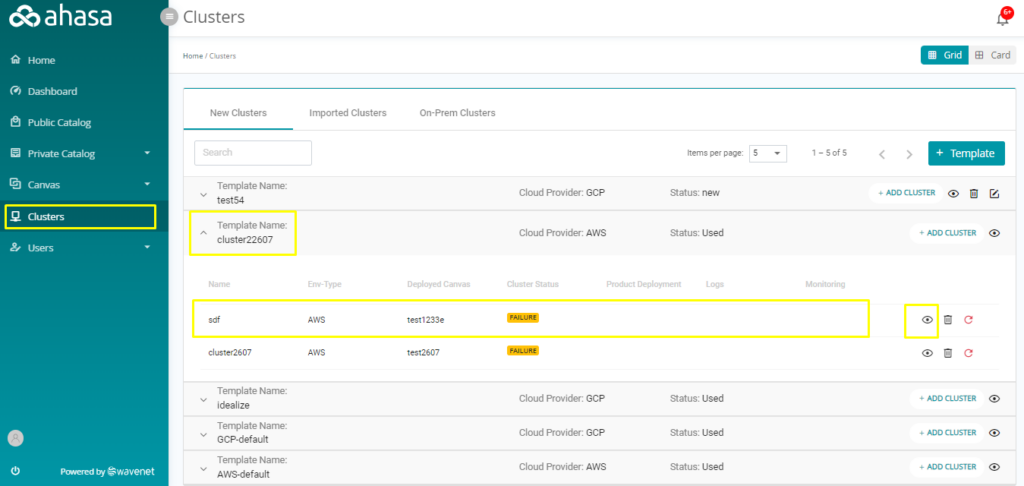
3. Select a template name and click on
Click ![]() View to view the cluster
View to view the cluster
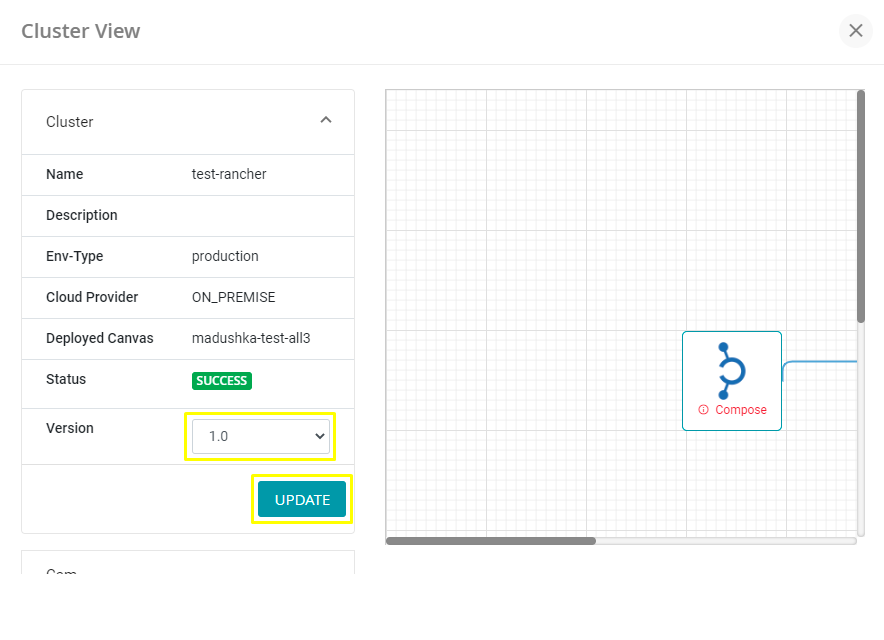
10.1.6 Deleting a Cluster Template #
1. Login to Ahasa.
2. On the Left Pane, click Clusters.
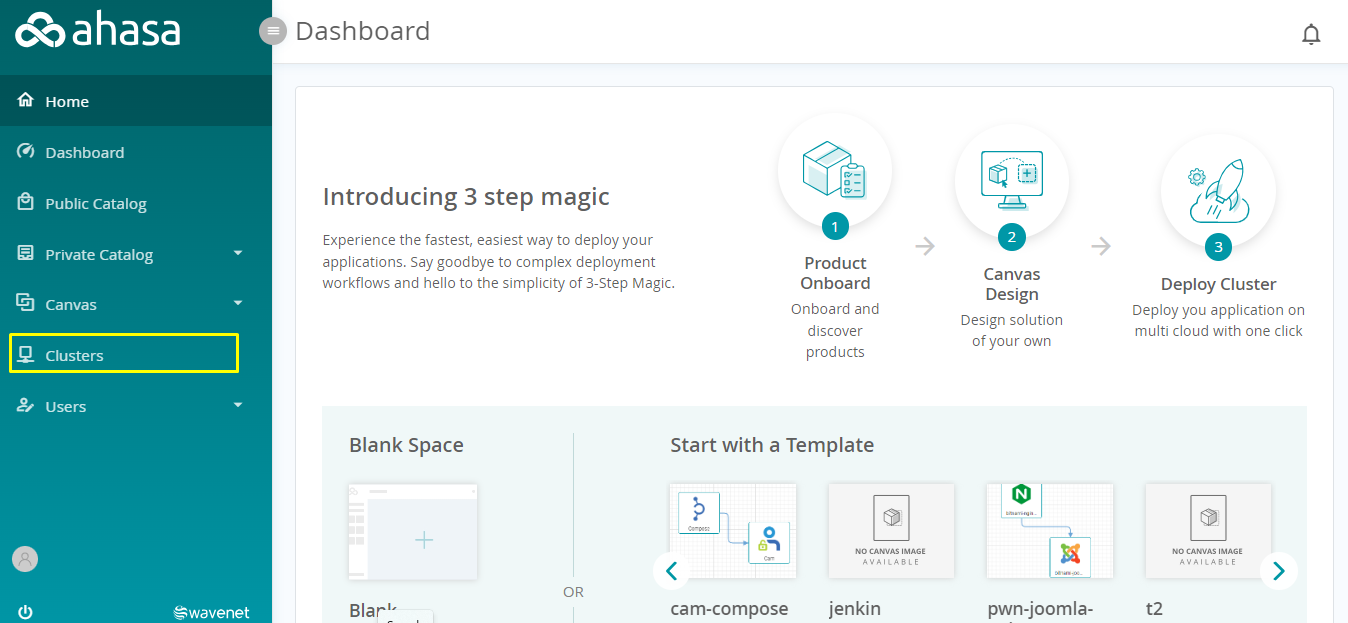
3. Click ![]() delete to delete the Cluster Template.
delete to delete the Cluster Template.
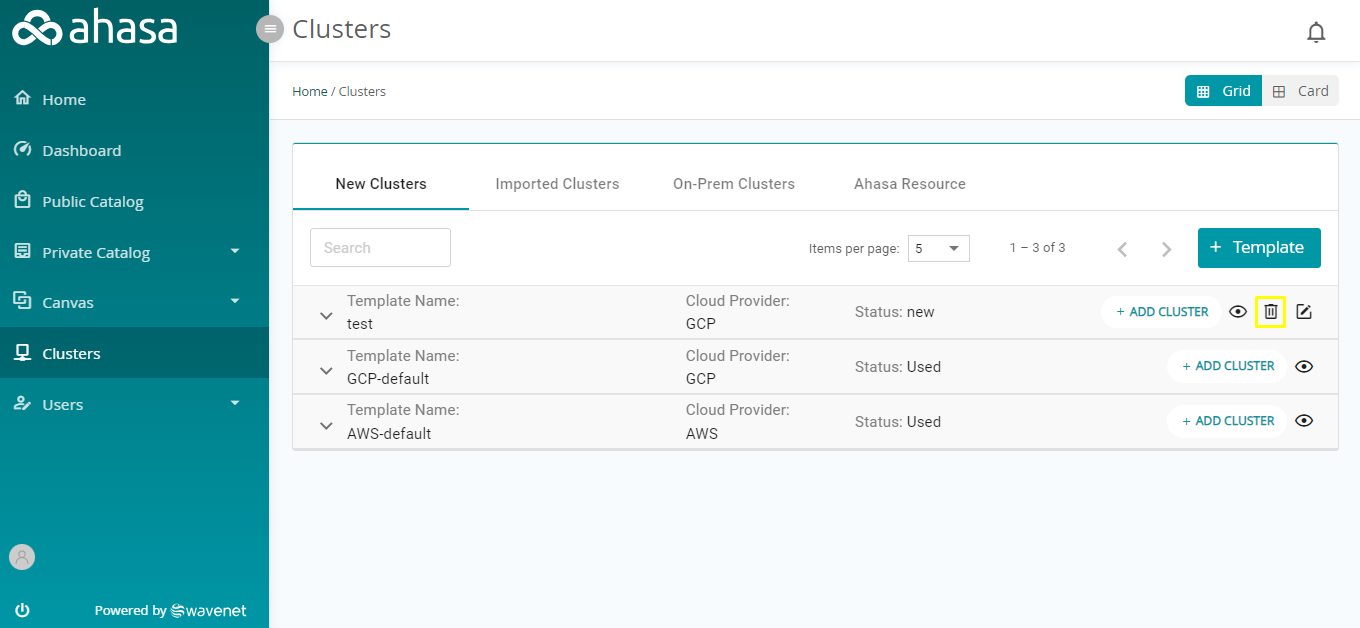
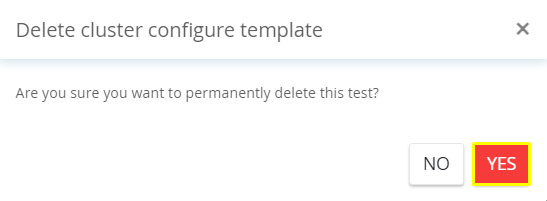
4. A confirmation will be displayed. Click Yes to delete the template.
